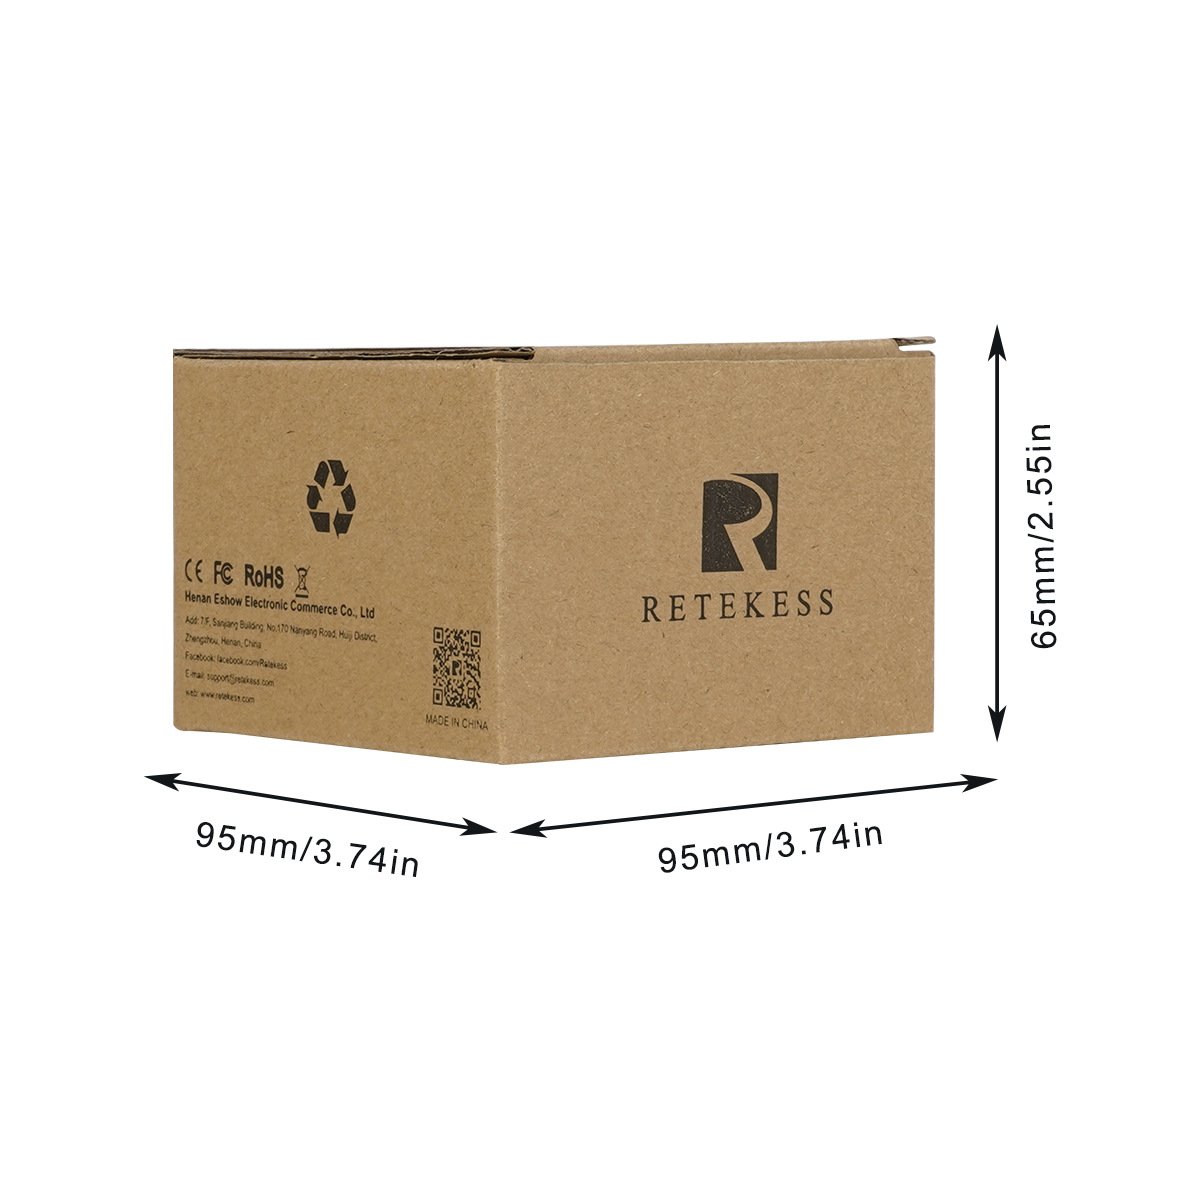
108 pieces per box, 57 * 33 * 48cm, 13.6kg
| Communication frequency |
433MHz |
| Receiving sensitivity |
-114dBm |
| Battery capacity |
180mAh |
| Prompt duration |
1-15S |
| Number of extensions allowed |
500 |
| Number of stored information |
10 |
| Standby time |
2-3 days |
| charging |
USB charging 5V1A |
| display screen |
OLED |
|
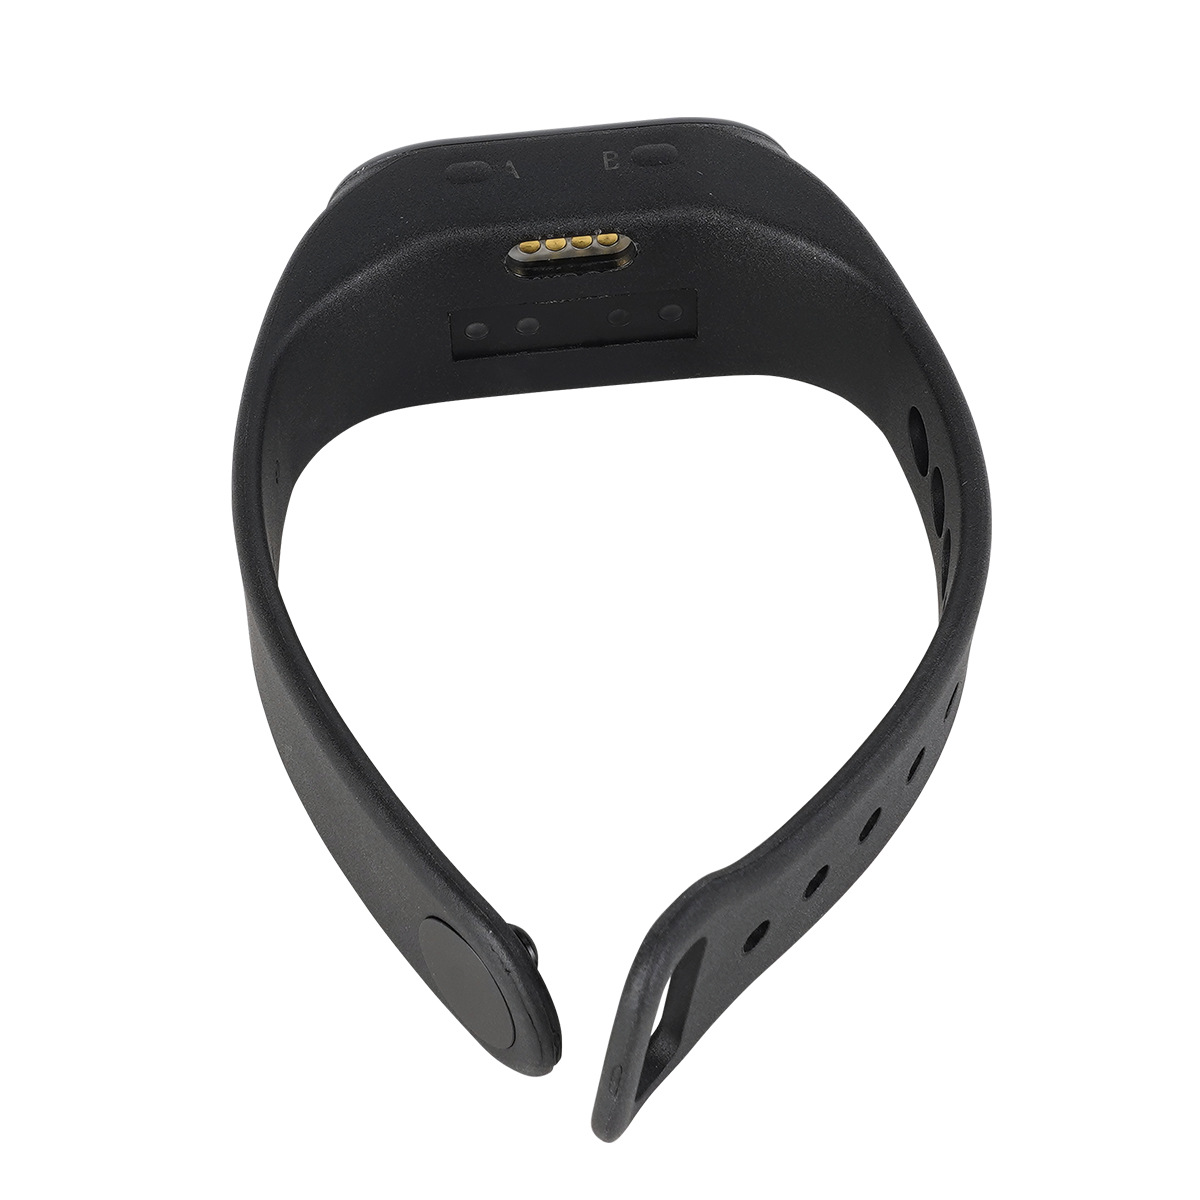
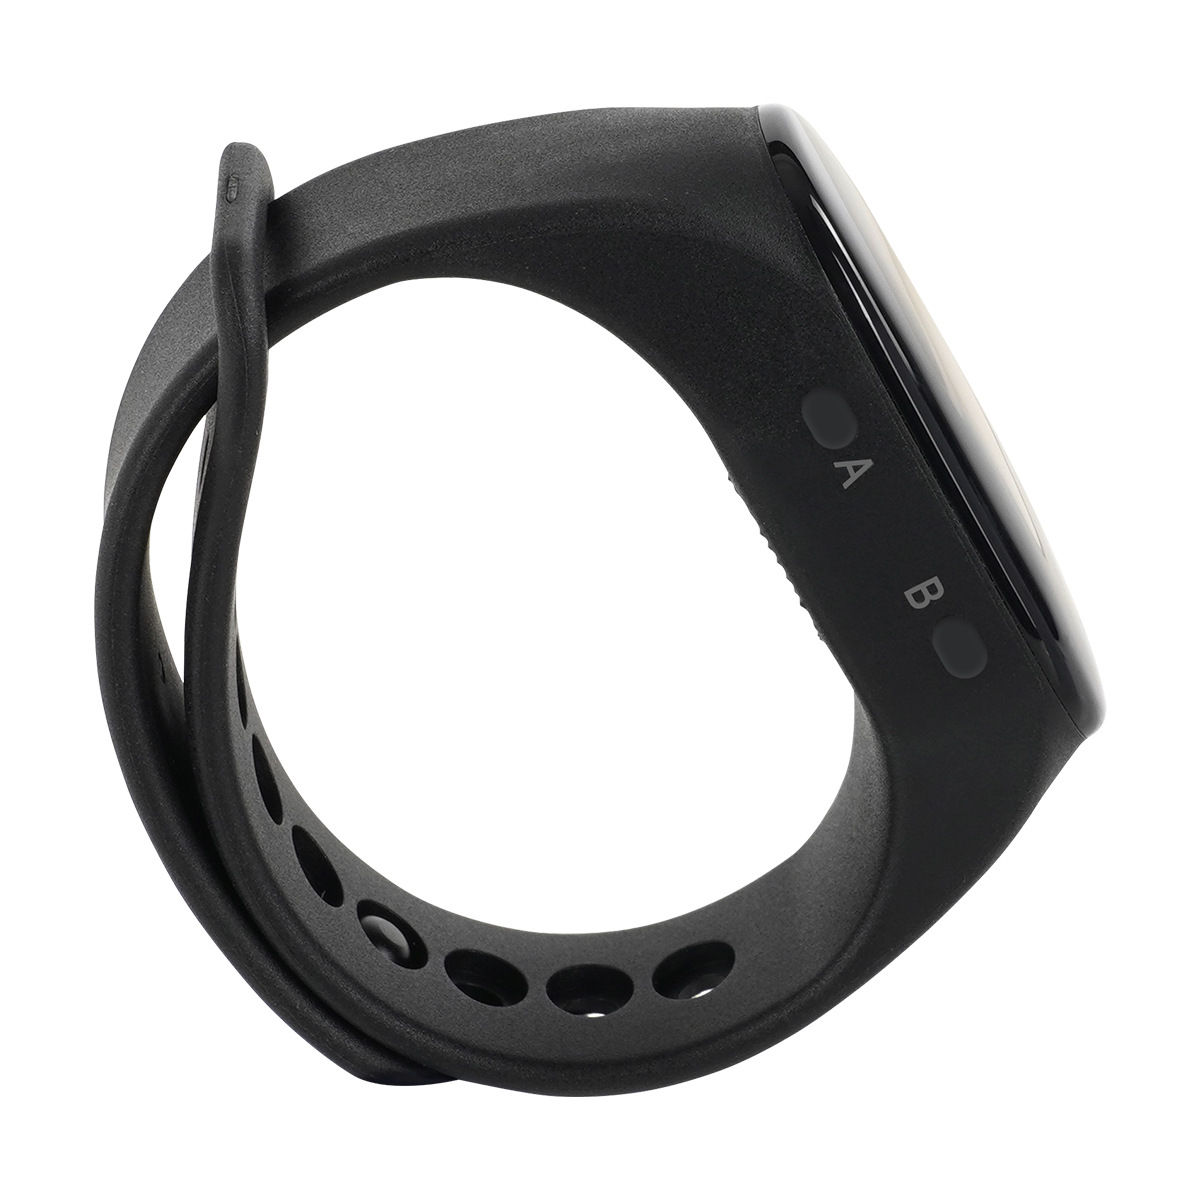
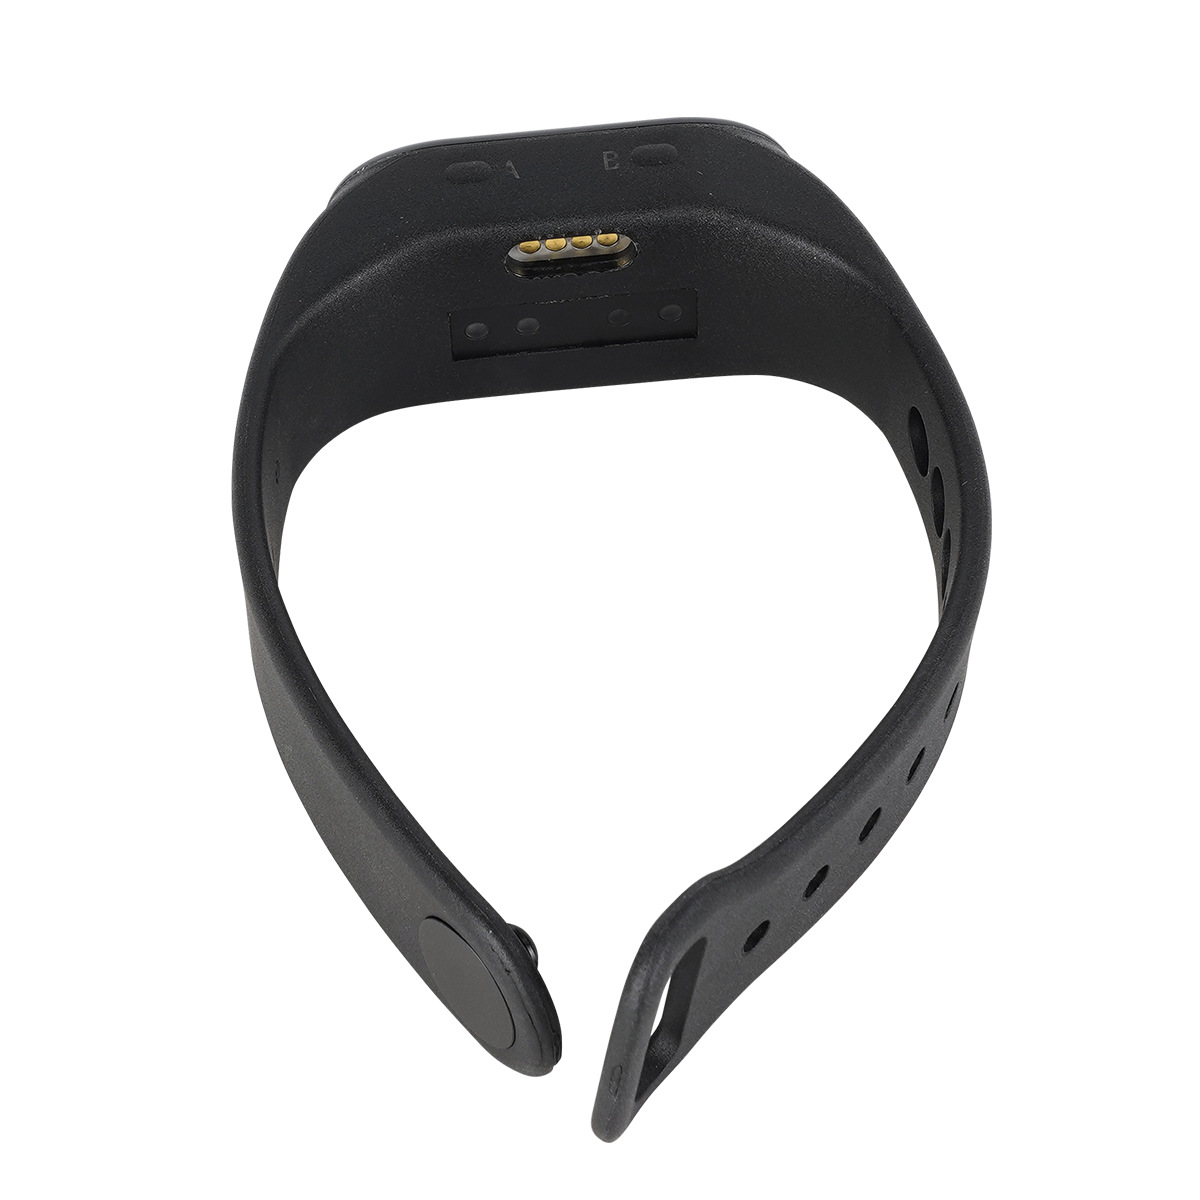
| Number of buttons |
2 |
| Shell material |
Polyurethane+PC |
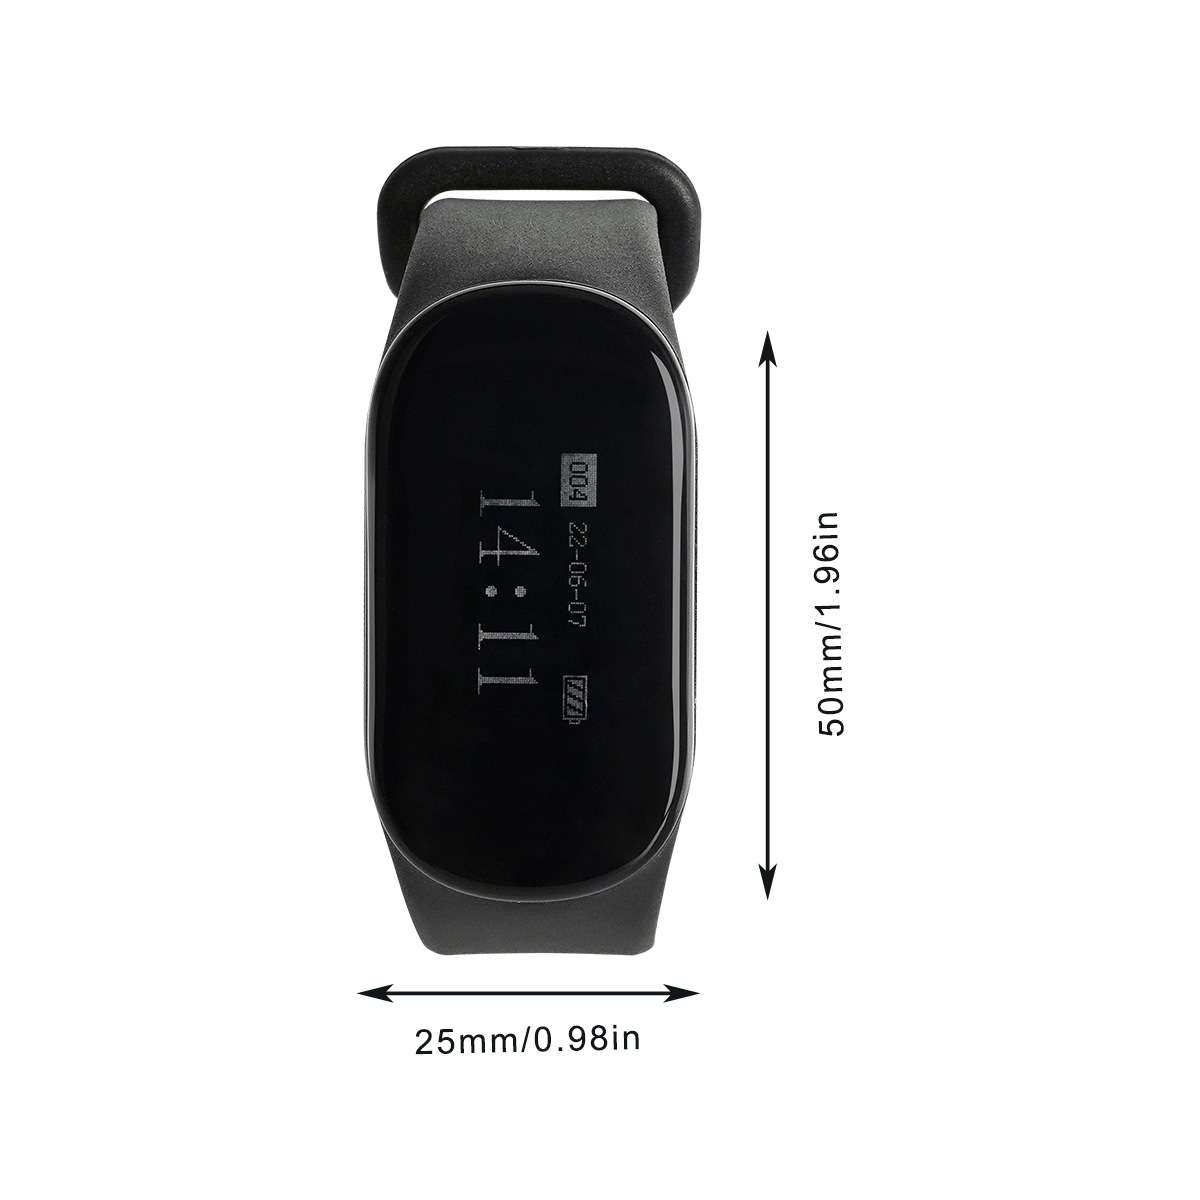
| Appearance size |
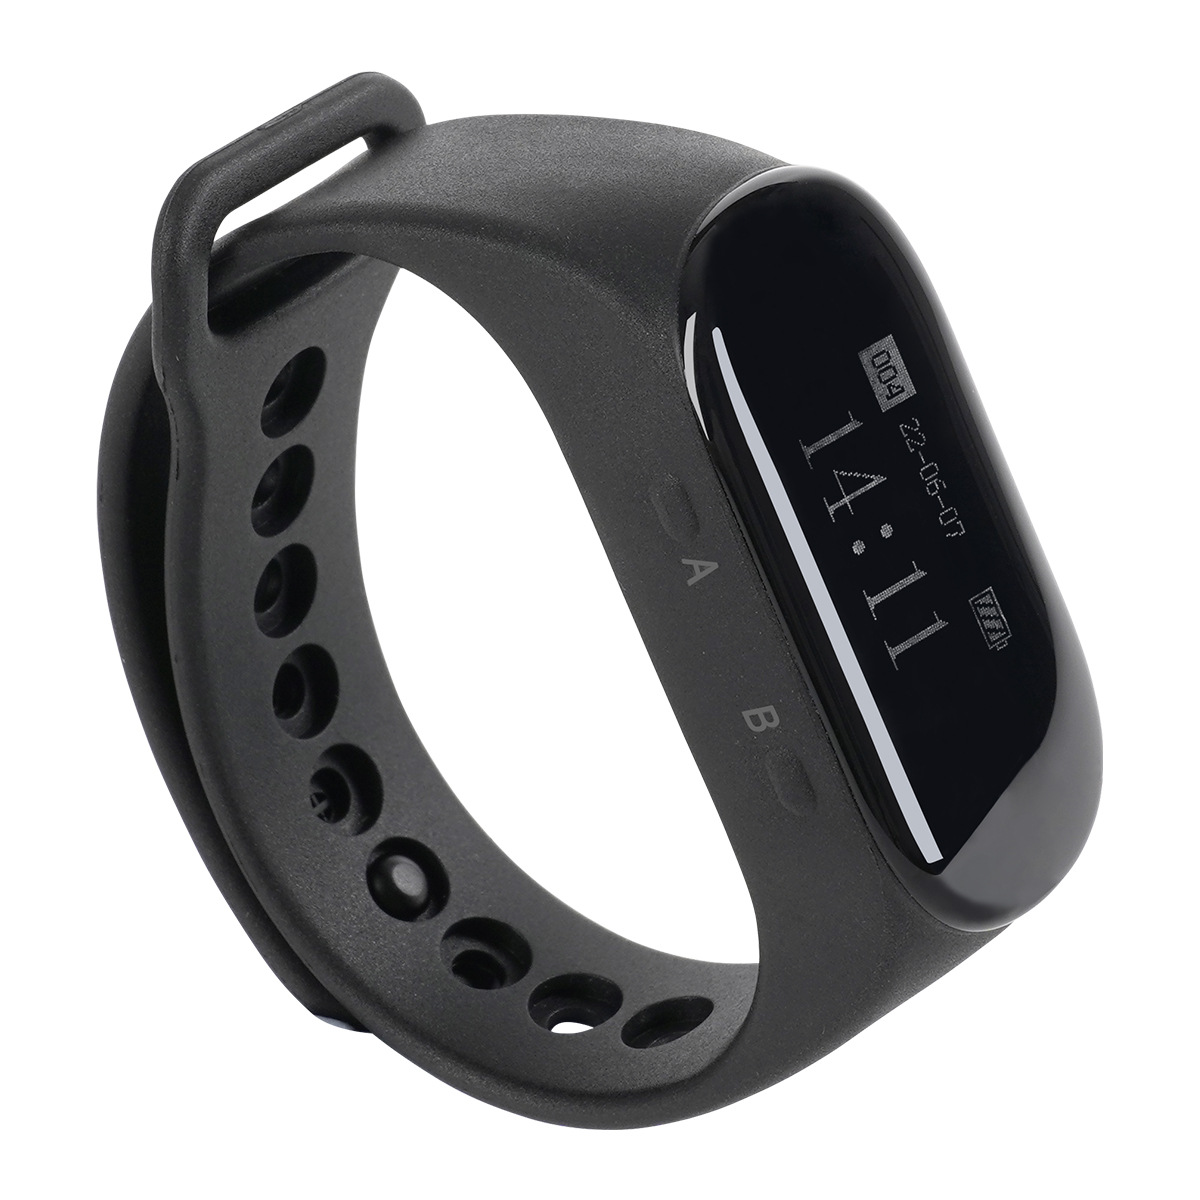
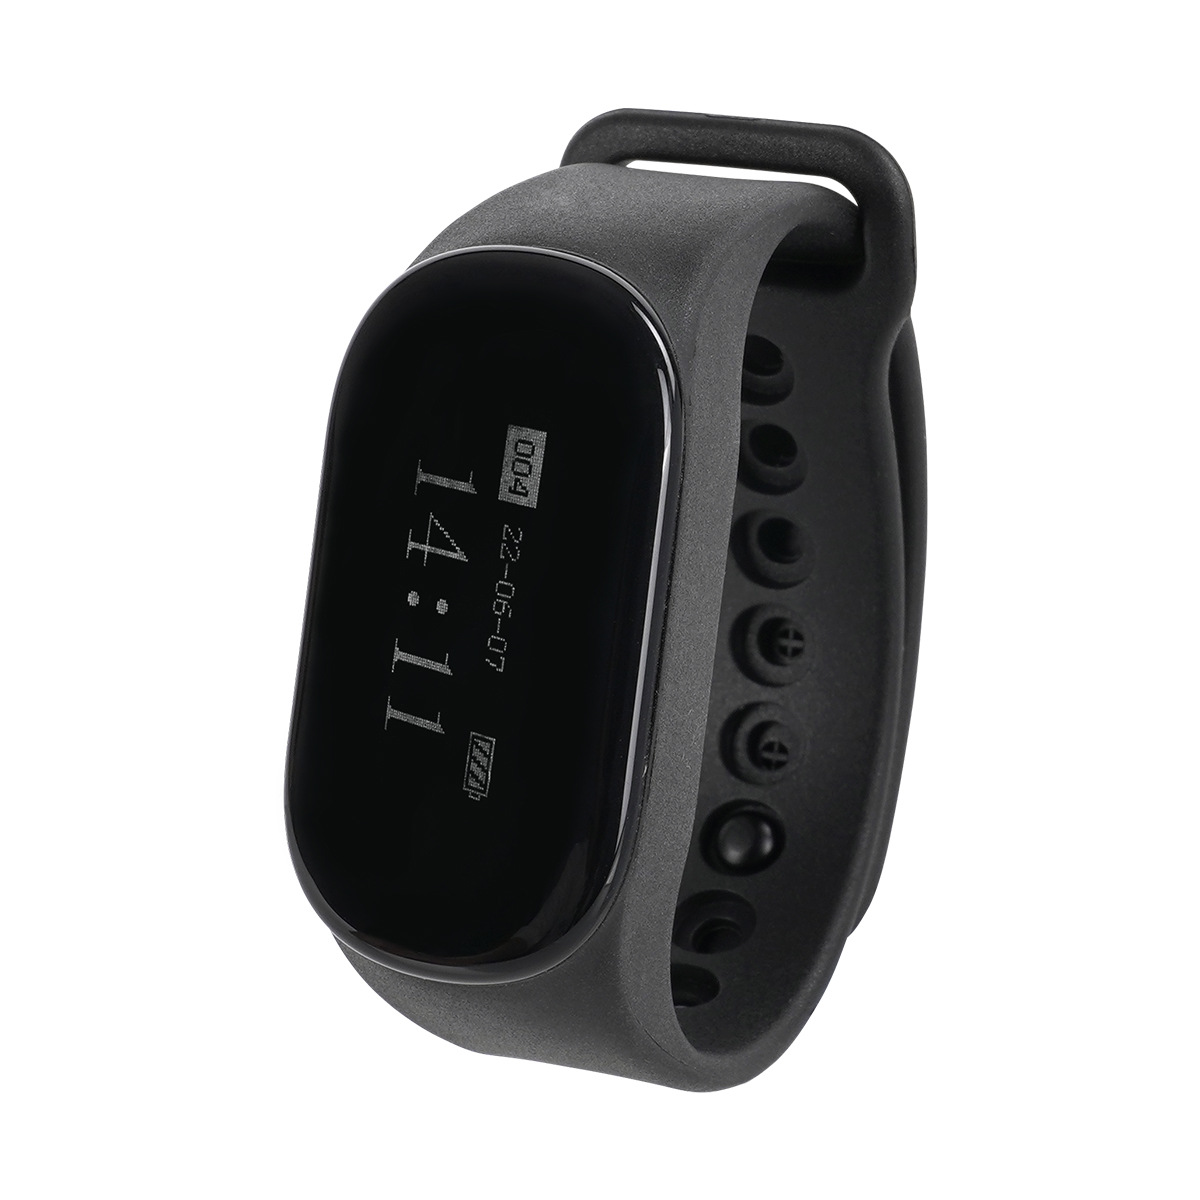
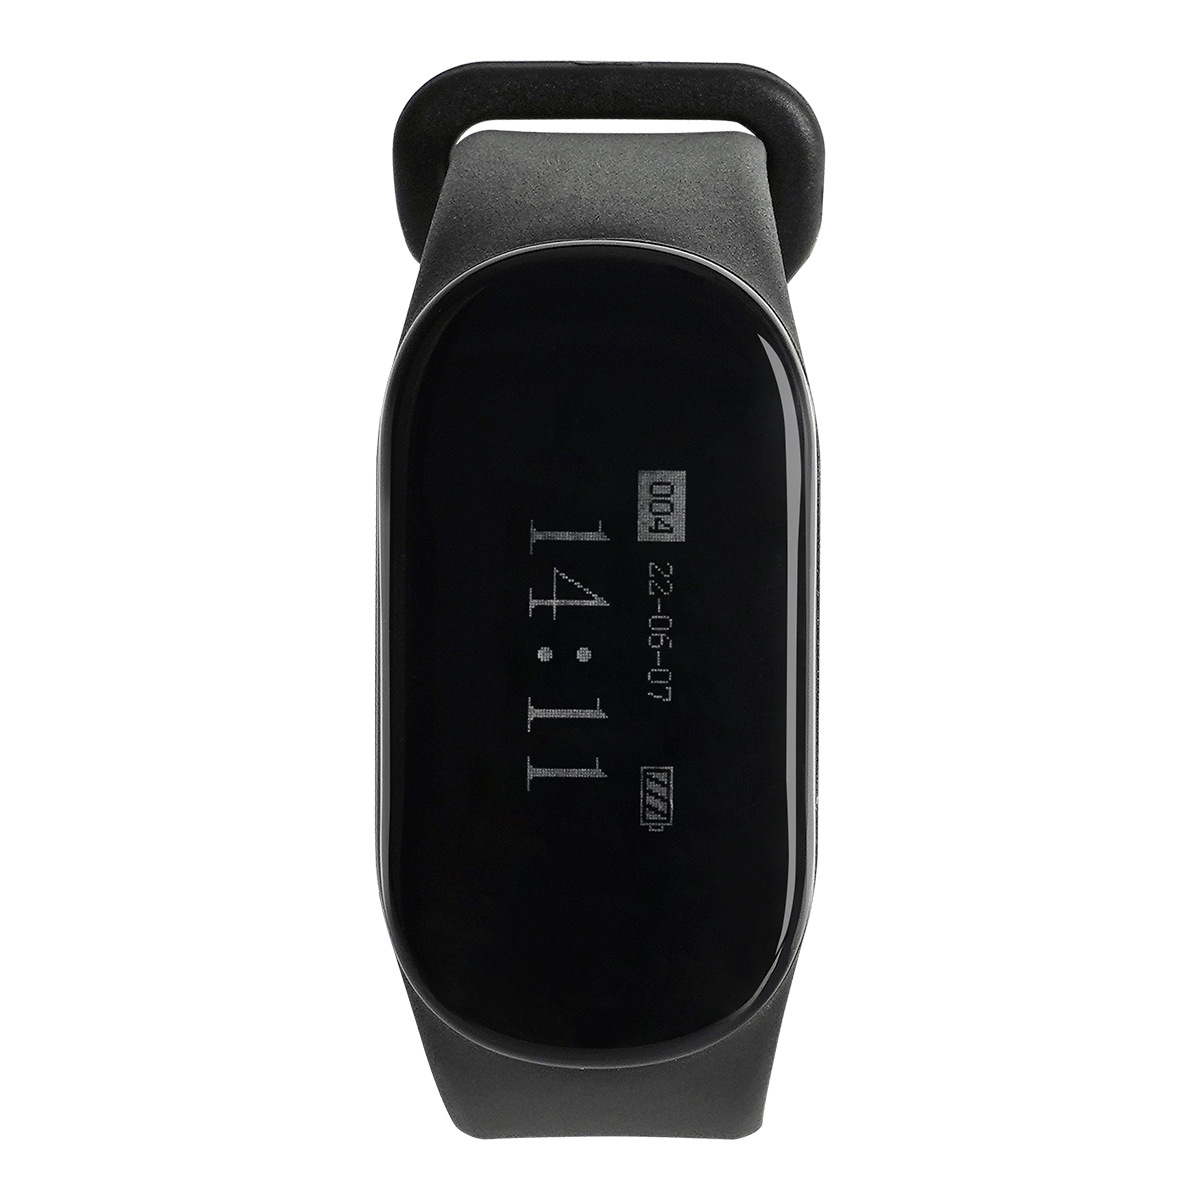
48 * 25 * 15 |
Bracelet operation instructions
1、 Power on, power off, wakeup, call confirmation, and deletion
The user sets the name and ID.
2. In standby mode, press and hold the "B" key to shut down.
In sleep mode, short pressing any key or the instrument receiving a new call message prompt can wake up the screen and enter working mode.
4. In the working state, short press the "any key" to confirm and delete the call received by the instrument.
5. In some settings, long press“Use the 'A' key to perform a concatenation operation.
2、 Battery Description
Use a dedicated charging clip to charge it, and it can be fully charged in 3 hours. When charging in standby mode, the battery icon flashes to indicate. Clip on when shutting down
After 2 seconds, the charging clip displays the shutdown charging icon and the battery icon flashes. The battery icon stops flashing when fully charged. When the battery is charged
When the quantity is insufficient, the screen will flash the battery icon.
3、 Set operation
1. Long press in standby mode“The "A key" can enter the setting mode.
2. Short press“A key "or" B key "can be used to switch between various function settings.
3. Long press“Press the 'A' key to enter the currently selected function settings for operation.
4. Long press the "B" key to exit the current function settings and save the settings data.
4、 Right code
Long press in standby mode“Press the "A" key to enter the setting mode, and short press the "A" or "B" key to switch to "pairing". longPress“Enter the code interface with the 'A' key.
1. Extension code:
1. Short press“A key "or“Switch from "B key" to "extension pairing code". Long press“Enter the extension code interface with the "A" key. Under the interfaceDisplay the pairing status and pairing number (such as "pairing NO 0001").
2. After entering the code, press the "B key" briefly to move and edit the position“Use the 'A' key to adjust the number. Adjustable rangeFor: 0001~ZZZZ. Long press“
The 'A' key can delete the current pairing code.
3. After adjusting the number to be paired, press the caller button that needs to be paired, the wristband will vibrate, and the pairing status will change“NO "becomes" OK ",This caller has completed pairing and will automatically switch to the next sequential number pairing state. If there are no new callers that need to be paired, long press“B key "returns to the upper menu or standby interface;
2 Keyboard Code Matching
1. In the code interface, short press“
A key "or“B key "switchto“”。Long press“
Enter the keyboard with the "A" keyCode interface. The code number and code status are displayed at the bottom of the interface.
2. After entering the code, press briefly“Press the 'B' key to move and edit the position, then press briefly“Use the 'A' key to adjust the number. Keyboard serial number is availableThe adjustment range is 01~50; The adjustable range of keyboard ID is 001~999, and "FFF" indicates that the keyboard serial number is empty for code matching.“The 'A' key can delete the current pairing code.
3. After selecting the keyboard number to be paired (keyboard ID is FFF), press the corresponding wristband ID number on the keyboard, and the wristband will be paired accordinglyIt will vibrate and the wristband interface will display "OK" to indicate successful pairing of the keyboard. At the same time, the keyboard ID number will change from "FFF" to the defaultAfter completing the pairing of the health disk ID value, long press the "B key" twice to return to the standby mode.
※ Special note:
A single wristband can register up to 500 callers
5、 Delete call number
When there is a cyclic display of call numbers on the screen (with a cycle interval of 5 seconds and a maximum of 10 numbers).
1. Long press the "any key" to delete all called numbers and return to standby mode, achieving one click deletion of all call informationCan;
2. Short press "any key" to delete the currently displayed number, achieving the one click single deletion function of the current call information.
6、 Clock setting
1. Time setting
① Long press in standby mode“Press the "A" key to enter the setting mode, and briefly press it“ A key "or“Switch to 'Clock Settings' using the' B 'key.
② Long press“Key A "enters the clock setting interface⾯. Short press“B key ", select" time ".
③ Long press“Press the A key until the hour and minute appear on the screen, for example: 13:12.
④ Short press the "B key" to adjust the clock time: hour, minute, year, month, day, press“Modify it with the 'A' key.
⑤ After completing the time adjustment, press the "B key" twice in a row to return to the standby interface.
2. Alarm clock setting
① Long press in standby mode“Press the "A" key to enter the setting mode, and briefly press it“A key "or“B key "switchto“”。
② Long press“Press the 'A' key to enter the clock settings interface. Short press“B key ", select" alarm clock ".
③ Long press“Press the A key until the time appears on the screen.
④ Short press the "B" key to adjust the alarm time, press“Use the 'A' key to modify it (up to two alarms can be set).
⑤ After adjusting the alarm clock, press and hold the "B key" twice in a row to return to the standby interface.
3. Timed power on/off
① Long press in standby mode“Press the "A" key to enter the setting mode, and briefly press it“ A key "or“B key "switchto“”。
② Long press“Press the 'A' key to enter the clock settings interface. Short press“B key ", select" timed power on/off ".
③ Long press“Press the A key until the hour and minute appear on the screen, for example: 13:12.
④ Short press the "B key" to adjust the switch and hour/minute, press“Modify it with the 'A' key.
⑤ After the adjustment is completed, press and hold the "B key" twice in a row to return to the standby interface.
※ Special note:
Automatic power on/off: After the time setting is completed, the automatic shutdown can only be executed in standby mode. When the shutdown is executed, the interface jumps to automatic shutdown
Machine prompt interface, and vibrate twice for reminder. Press any button within the prompt time to stop the shutdown.
7、 Prompt setting
1. Vibration time
① Long press in standby mode“Press the "A" key to enter the setting mode, and briefly press it“A key "or“Switch from "B key" to "prompt settings".
② Long press“Press the "A" key to enter "prompt settings". Short press“B key ", select" vibration time ".
③ Long press“Press the "A" key to enter the "Vibration Time" interface until a number between 1 and 15 appears on the screen; Press“B key "displacement lightMark, press“Enter with the 'A' key⾏Number adjustment. (115 represents vibration time of 115 seconds.)
④ After the adjustment is completed, press the "B key" twice in a row to return to the standby interface.
2. Display time
① Long press in standby mode“Press the "A" key to enter the setting mode, and briefly press it“A key "or“Switch from 'B' key to 'Display Settings'.
② Long press“Press the "A" key to enter "prompt settings". Short press“B key ", select" Display time ".
③ Long press“A key "enterShow offshowTime "interface, until a number between 1 and 10 appears on the screen (when set to" 00 ")When, it will remain displayed and not be cleared; Press“Move the cursor with the "B" key, press“A key "。1~10The display time is 110 minutes
④ After the adjustment is completed, press the "B key" twice in a row to return to the standby interface.
※ Special note:The storage duration of call information is the sum of the vibration duration and the display duration.
8、 Mode selection
1. Long press in standby mode“A key "enterSet mode, short press“A key "or“B ”Mode selection.
2. Long press“A key "enterMode selection interface. Short press“A key "or“B key "to select the mode.
After the adjustment is completed, press and hold the "B key" twice in a row to return to the standby interface.
※ Special note:
There are three working modes: "normal", "single key", and "listening", among which the pairing of "normal" and "listening" can be mutually recognizedCompatible, the "single key" mode requires re coding.“”enter。The "single key" mode allows for individual code matching for each key in multi key extensions, and each key can call the same message type separately.“”enter“”
Don't call different wristbands.
9、 Button settings
1. Long press in standby mode“
Press the "A" key to enter the setting mode, and briefly press it“
A key "or“
Switch from "B key" to "key settings".
2. Long press“
A key "enter“”。
3. Short press“A key "or“Select the 'B' key and press the caller button to change the desired key type. If the number on the right changesIf the key value of the key is obtained, the key registration is successful. If you use the "Bracelet Receiver Configuration Software" to write custom buttons, you canSimultaneously press“A key "“The "B key" switches between custom and default buttons in the "Bracelet Receiver Configuration Software".
4. In monitoring mode, long press and hold“The "A key" can select and cancel the receiving type.
After the adjustment is completed, press and hold the "B key" twice in a row to return to the standby interface.
※ Special note:
A key can only define one type. If a type does not have a key value defined, the key value will be displayed as "FF". If the caller canIf the code cannot be called, the button needs to be registered through this method. You can also customize the button display class through the upper computerType. (Note: If customizing the button type through the upper computer, the "Cancel" button requires inputting "Cancel", "CANCEL"CANCELAR "“ANNULER”、 STORNIEREN, CANCELAR, CANCELLARE
10、 Language settings
1. Long press in standby mode“A ”Set mode, short press“A key "or“B ”Language settings.
2. Long press“A ”Language setting interface. Short press“A ”“B key "can be used in" English "," Chinese "Italiano, EspaÅol”、 Deutsch "," FranYeah.ais”、 “PortuguêSwitch between's'Select.
After the adjustment is completed, press and hold the "B key" twice in a row to return to the standby interface.
11、 Name and ID
1. Long press in standby mode“A ”Set mode, short press“A ”“B ”Name and ID.
2. Long press“Enter the "Name and ID" interface with the "A" key. The adjustable range of wristband ID is 001~999; Adjustable wristband nameInteger value”A”~”Z”With spaces.
3. After the adjustment is completed, press and hold continuously“Press the B key twice to return to the standby interface.
※ Special note:
The first startup will prompt to set the name and ID, and the automatic restart after factory reset will also prompt to set the name and ID. Settings interfaceLong press the 'B' key to return to the standby interface. 12、 Bracelet receiver configuration software
1. If data transmission with a computer is required, open the "Bracelet Receiver Configuration Software" on the computer, and the bracelet can be in standby modeAfter connecting to the computer through a data cable and waiting for 13 seconds, the wristband will automatically connect to the "wristband receiver configuration software"You can perform relevant operations in the "Bracelet Receiver Configuration Software" on your computer.
2. After editing the required information in the "Bracelet Receiver Configuration Software", press "Write Bracelet"
※ Special note:
1. When using the "Bracelet Receiver Configuration Software" to write data, it will overwrite the original data. It is recommended to export and save the data before setting it up.
2. The 'Caller ID' can be pressed when the wristband is connected to the 'wristband receiver configuration software'Press the button to automatically obtain.
13、 Factory settings
1. Clear the pairing code
① Long press in standby mode“A ”“A ”“Switch from "B key" to "factory settings".
② Long press“Press the "A" key to enter the "Output Length Settings" interface. Short press“B key ", select" Clear pairing code ".
③ Long press“Press the 'A' key until 'Clearing in progress' appears on the screen.
④ After setting, press and hold continuously“Press the B key twice until you return to standby mode, and the 'clear pairing code' setting is complete.
2. Factory restoration
① 1. Long press in standby mode“A ”“Switch to "Factory Settings" using the "A" or "B" keys.
② Long press“Press the "A" key to enter the "Output Length Settings" interface. Short press“Select 'Factory Restore' with the 'B' key.
③ Long press“Press the 'A' key until 'Clearing in progress' appears on the screen.
3After the factory reset is completed, the wristband will automatically restart.


![TD112 Watch Band Receiver [Amplitude Modulation/433MHz] Restaurant Service IPX7 Waterproof](http://mickcara.myshopify.com/cdn/shop/files/e5ea981b16a898a0ad7e899d1668dade_1024x1024.jpg?v=1726041579)
![TD112 Watch Band Receiver [Amplitude Modulation/433MHz] Restaurant Service IPX7 Waterproof](http://mickcara.myshopify.com/cdn/shop/files/755a6b0b0c1ccc5ac3b37662eeea01ad_1024x1024.jpg?v=1726041584)
![TD112 Watch Band Receiver [Amplitude Modulation/433MHz] Restaurant Service IPX7 Waterproof](http://mickcara.myshopify.com/cdn/shop/files/5ad361baf9a28e175328c85ae4cf0320_1024x1024.jpg?v=1726041591)
![TD112 Watch Band Receiver [Amplitude Modulation/433MHz] Restaurant Service IPX7 Waterproof](http://mickcara.myshopify.com/cdn/shop/files/724f7c01b010d37ca555f0dd9060b218_1024x1024.jpg?v=1726041597)
![TD112 Watch Band Receiver [Amplitude Modulation/433MHz] Restaurant Service IPX7 Waterproof](http://mickcara.myshopify.com/cdn/shop/files/4604fffd23076210566e9562acc0c58a_1024x1024.jpg?v=1726041605)
![TD112 Watch Band Receiver [Amplitude Modulation/433MHz] Restaurant Service IPX7 Waterproof](http://mickcara.myshopify.com/cdn/shop/files/e5ea981b16a898a0ad7e899d1668dade_compact.jpg?v=1726041579)
![TD112 Watch Band Receiver [Amplitude Modulation/433MHz] Restaurant Service IPX7 Waterproof](http://mickcara.myshopify.com/cdn/shop/files/755a6b0b0c1ccc5ac3b37662eeea01ad_compact.jpg?v=1726041584)
![TD112 Watch Band Receiver [Amplitude Modulation/433MHz] Restaurant Service IPX7 Waterproof](http://mickcara.myshopify.com/cdn/shop/files/5ad361baf9a28e175328c85ae4cf0320_compact.jpg?v=1726041591)
![TD112 Watch Band Receiver [Amplitude Modulation/433MHz] Restaurant Service IPX7 Waterproof](http://mickcara.myshopify.com/cdn/shop/files/724f7c01b010d37ca555f0dd9060b218_compact.jpg?v=1726041597)
![TD112 Watch Band Receiver [Amplitude Modulation/433MHz] Restaurant Service IPX7 Waterproof](http://mickcara.myshopify.com/cdn/shop/files/4604fffd23076210566e9562acc0c58a_compact.jpg?v=1726041605)




